


This particular loaf of Boudin Sourdough Bread was “foraged” from an Airport Shop at San Francisco International. If you enjoy San Francisco style Sourdough bread but don’t have convenient or affordable access to the authentic stuff, you could do as we do and develop your own Sourdough starter at home.
Actually, you MUST develop your own starter because the bread companies will not sell you their starter or give you their recipe. Since Sourdough starter is made from wild strains of yeast, your results will vary with your geography. The trick is to encourage the growth of acid loving strains so the resulting rise in acidity of your starter-dough will kill off the other unwanted strains i.e. the strains that grow in your athletic shoes.
Discovering this trick is what gave me the courage to attempt this at home. Previously when my wife wished to culture some foods at home, all I could think of was that neglected Petri dish in HS Biology class infested with alien life forms. Once I had mustered the courage to try, it was a simple matter of Googling for instructions and helpful tips. My resources are listed below so I won’t repeat that content here. None of the photos I located were particularly helpful, so I took shots of my own and included them here in high-def quality.
Step 1: Isolate a wild yeast source. Whole grains like rye or wheat contain wild yeast – which explains the discovery of leavened bread. Forage some grain or buy a small batch in a Natural Food store then grind the grain into course flour. A tiny bit is all you need to kick off the starter. Wild fruit like the Wild Plums I wrote about naturally support yeast. The sourer the fruit, the more sour the yeast. Grapes have long been associated with yeast used in wine making. Feel free to experiment with different sources for wild yeast.
Step 2: Mix 2 tablespoons of unbleached white flour with 2 tablespoons of canned pineapple juice. You can also substitute a teaspoon of vinegar and 1 tablespoon water plus a ½ teaspoon of honey for the juice. Stir in your yeast source and set in a warm place for 12 hours. If no growth is seen, give it up to 48 hours. Start over with a new yeast source if you don’t smell yeast or see bubbles after 48 hours.
Step 3: Save 1 tablespoon of the goop from above and stir it into a fresh flour, water, and acid mixture. Let it sit 12 hours at room temperature and then refrigerate for another 12 hours. Repeat this step for a total of three to seven days until your results smell yeasty, pleasant, and tart. On the last batch, increase your proportions to 1 cup of flour to approximately 1/3 cup juice.
Step 4: You can use the approximate one-cup of starter in a bread recipe of your choice. I’ll post my recipe for baking Sourdough Bread shortly and will link that post back here. You’ll need to feed the cup of starter depending on your recipe, so be sure to allow enough time. We always Amp things up by also adding traditional active-dry yeast to our bread mixture along with the sourdough starter, and increase the time between rises.
Step 5: Be sure to reserve 1 heaping tablespoon of the starter batch and add it to 1 cup of flour plus approximately 1/3 cup water (no more juice). Acid loving yeast also prefers a dry dough, not a wet paste. Place the starter mixture into a glass container and then immediately into the refrigerator where it will slowly develop again after a few days.
A couple of lessons we learned along the way: Don’t use bleached flour or tap water since the Chlorine will hinder the growth of wild yeast. Also, don’t use fresh pineapple juice because it contains enzymes which will do weird things to the proteins in the floor.
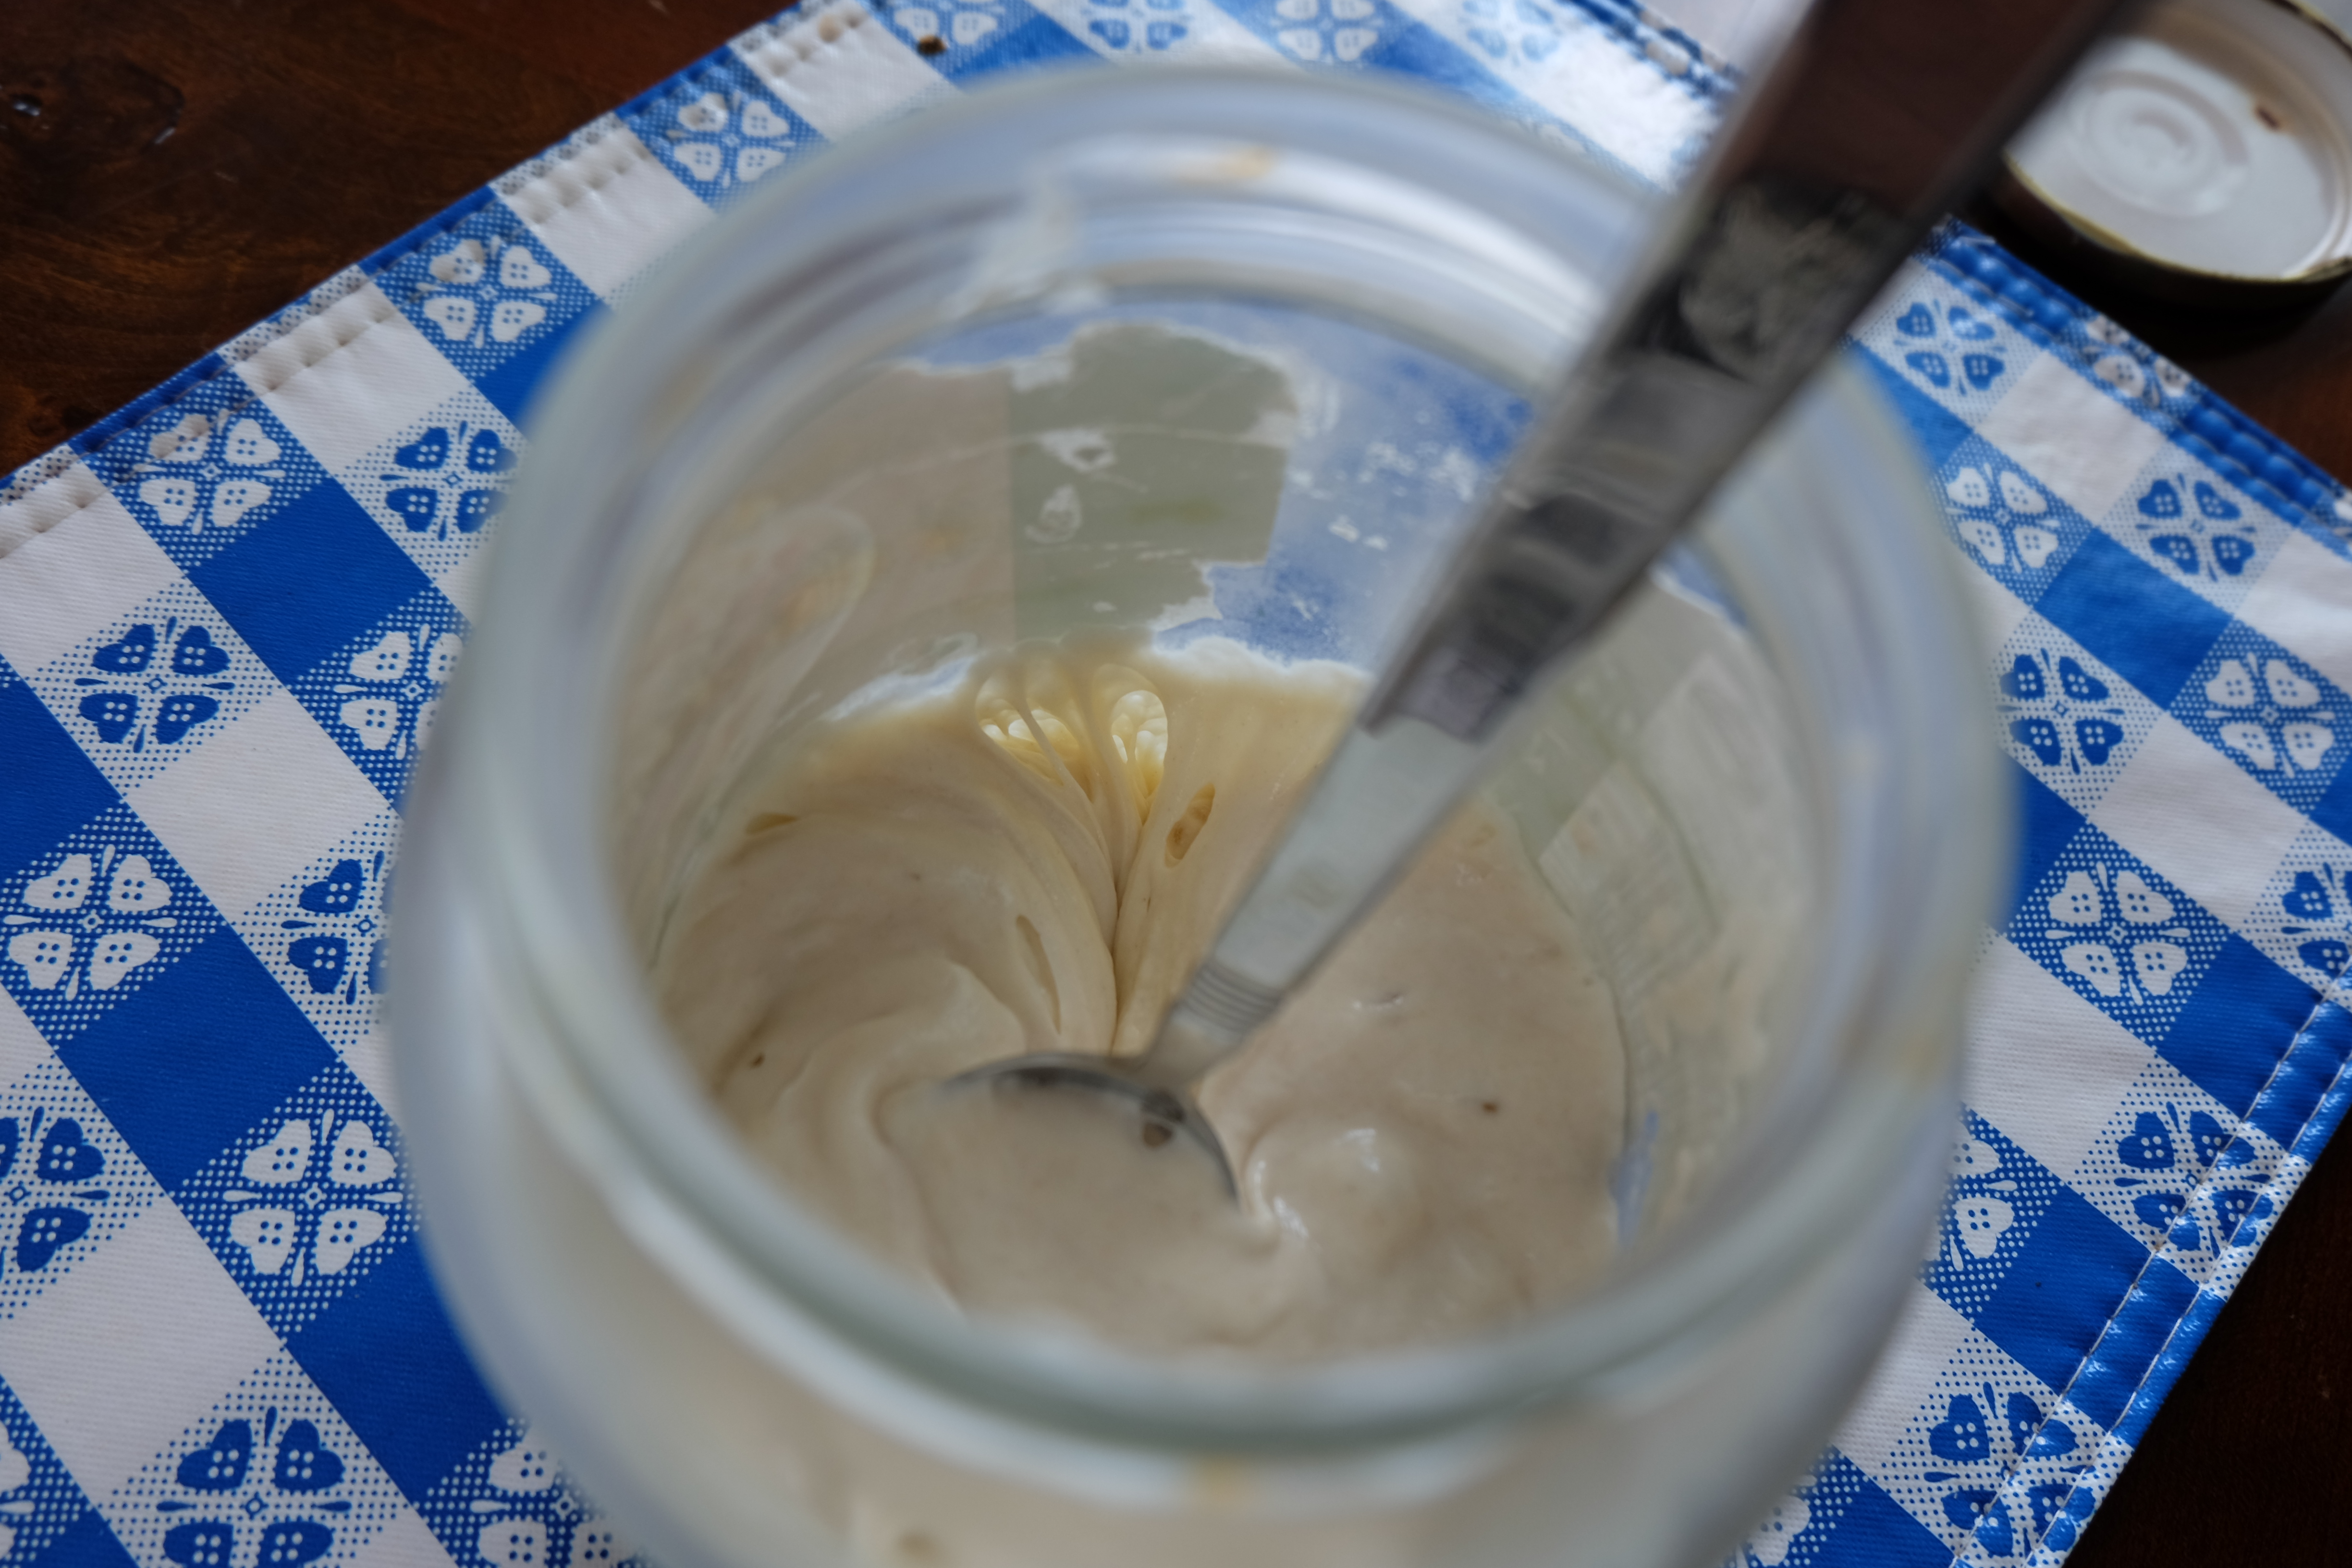
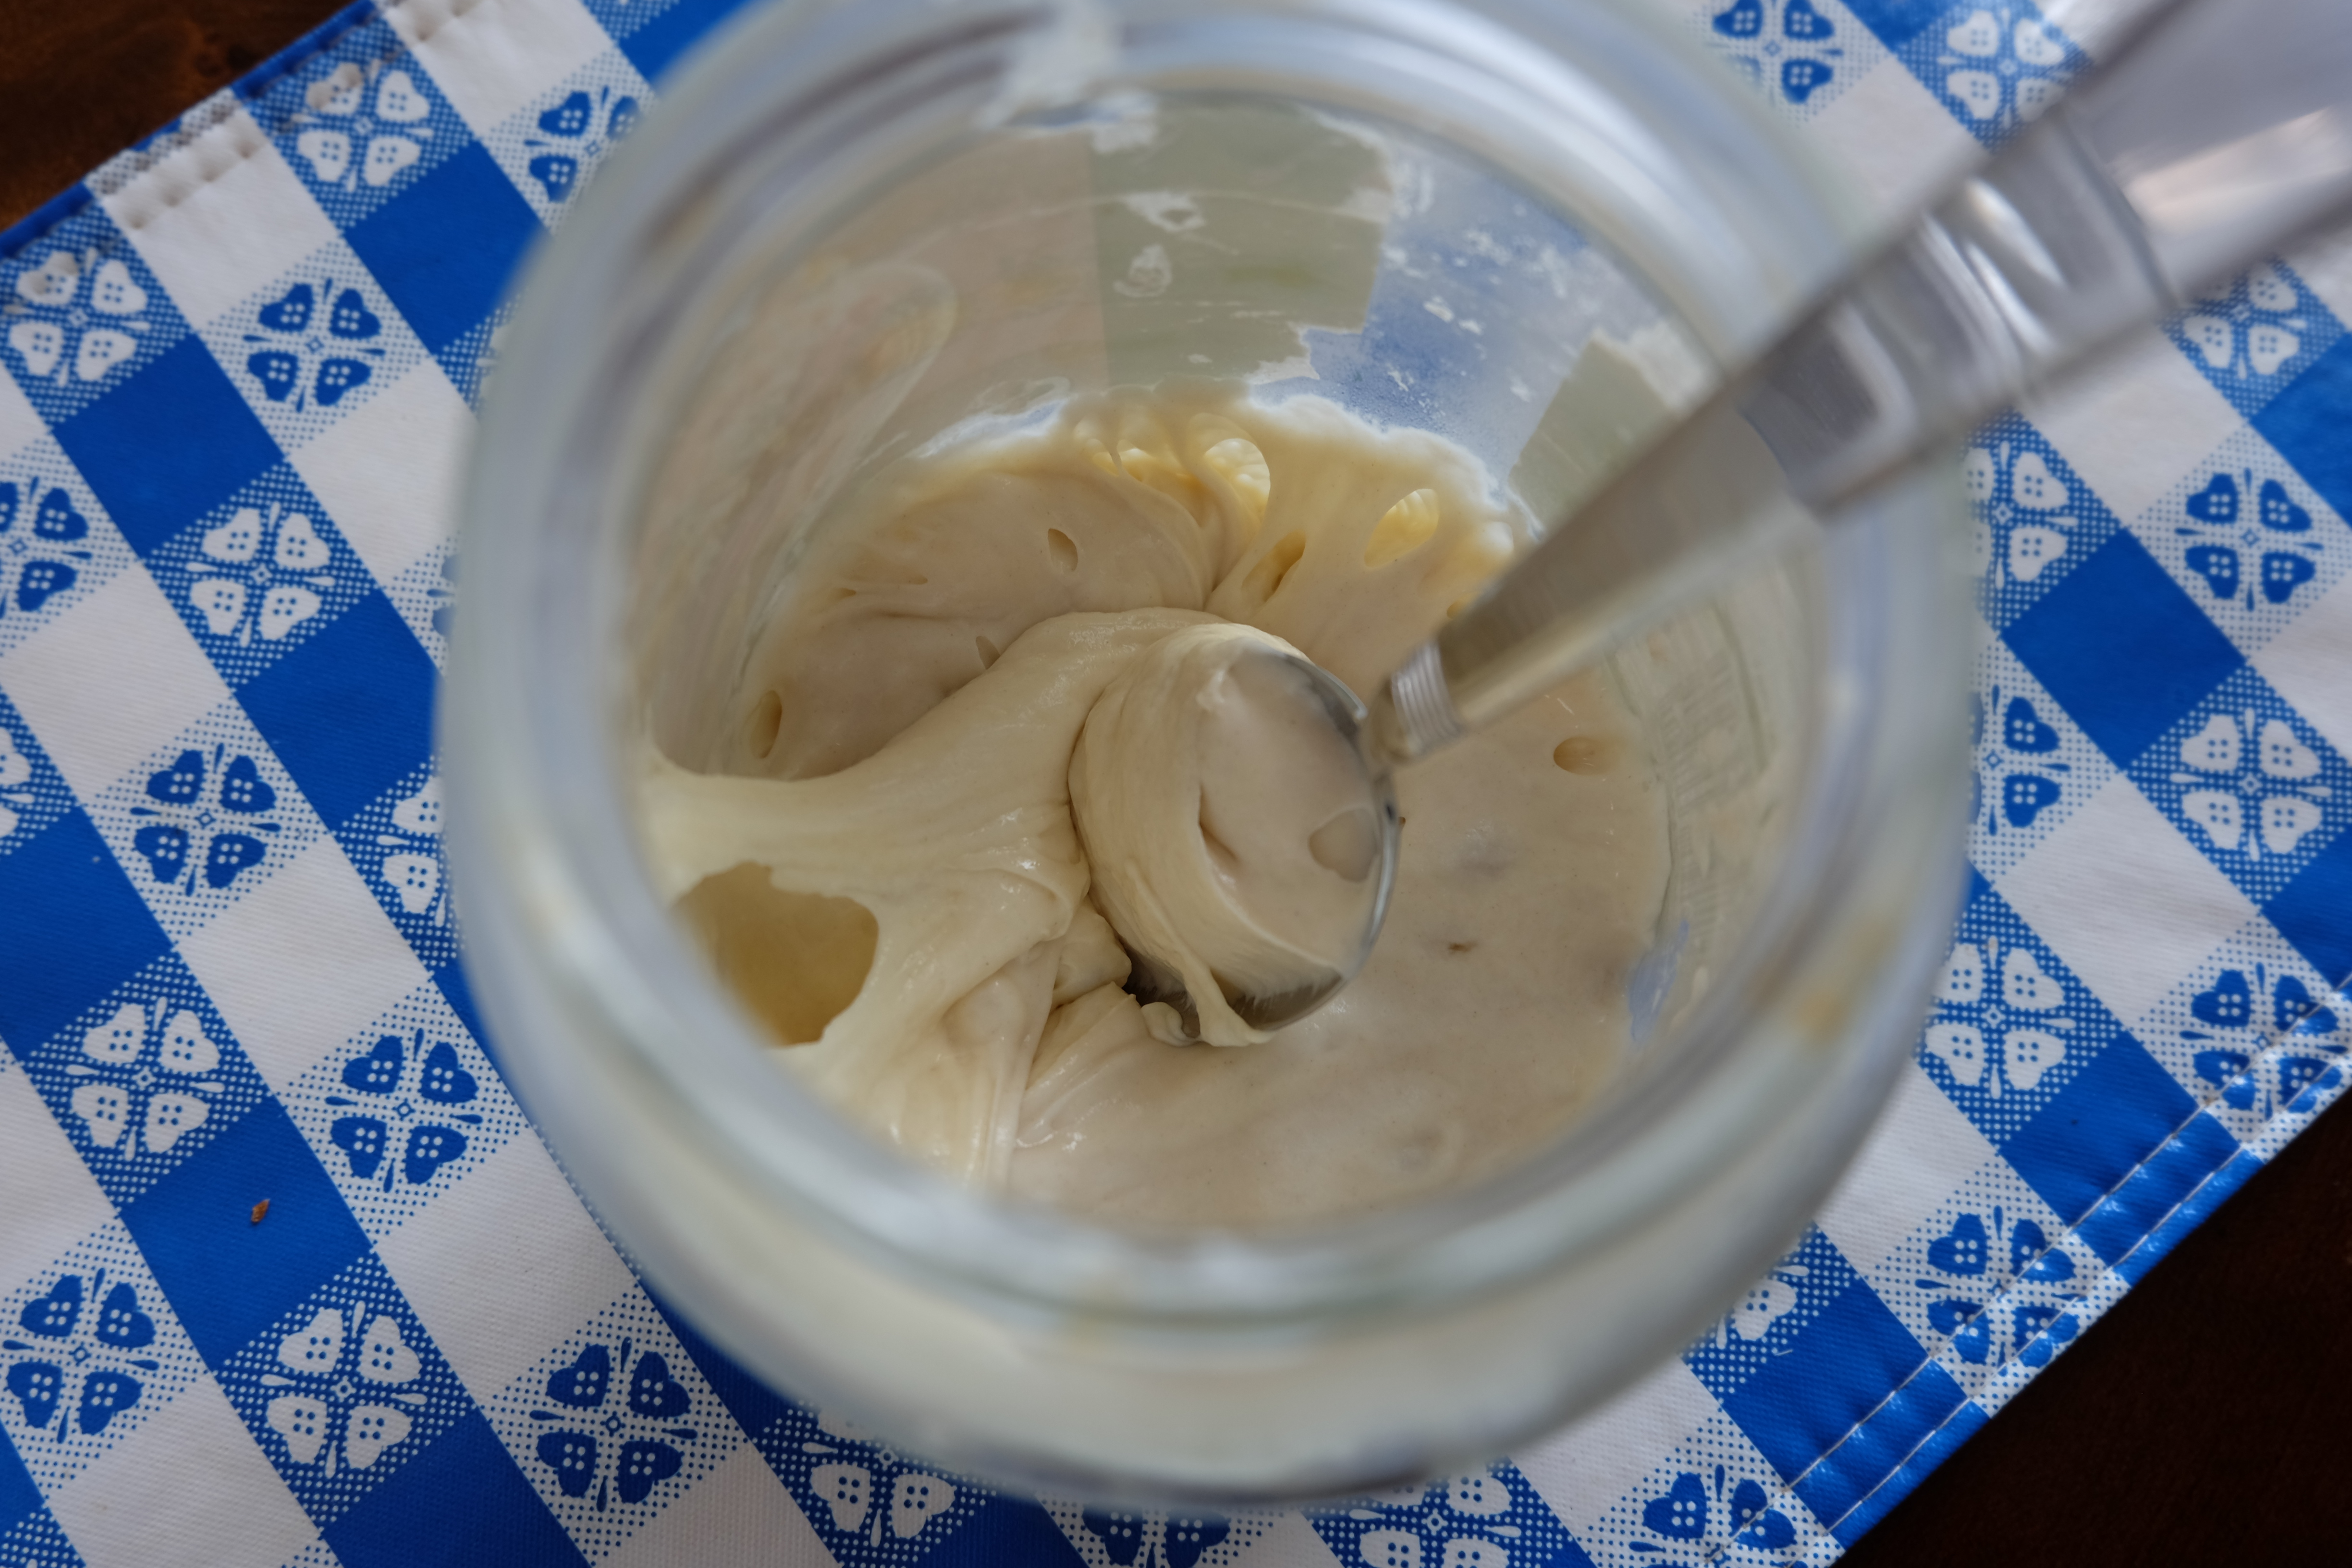
We feed our refrigerated starter every two weeks after experimenting with both longer and shorter intervals. Technically, we save only 1 heaping tablespoon from the prior refrigerated batch and feed it with flour and water. The leftover one cupful is used for Sourdough pancakes, biscuits, or bread. Otherwise, it is discarded. The cost of 1 cup of flour is a small price to pay for having truly tart Sourdough starter in your fridge at all times. If you notice your starter losing its oomph or developing off-notes, just repeat the steps of developing that initial shock of acid.
Here is our recipe for Bread from this amazing starter: https://www.chabernet.com/sourdough-bread-recipe/
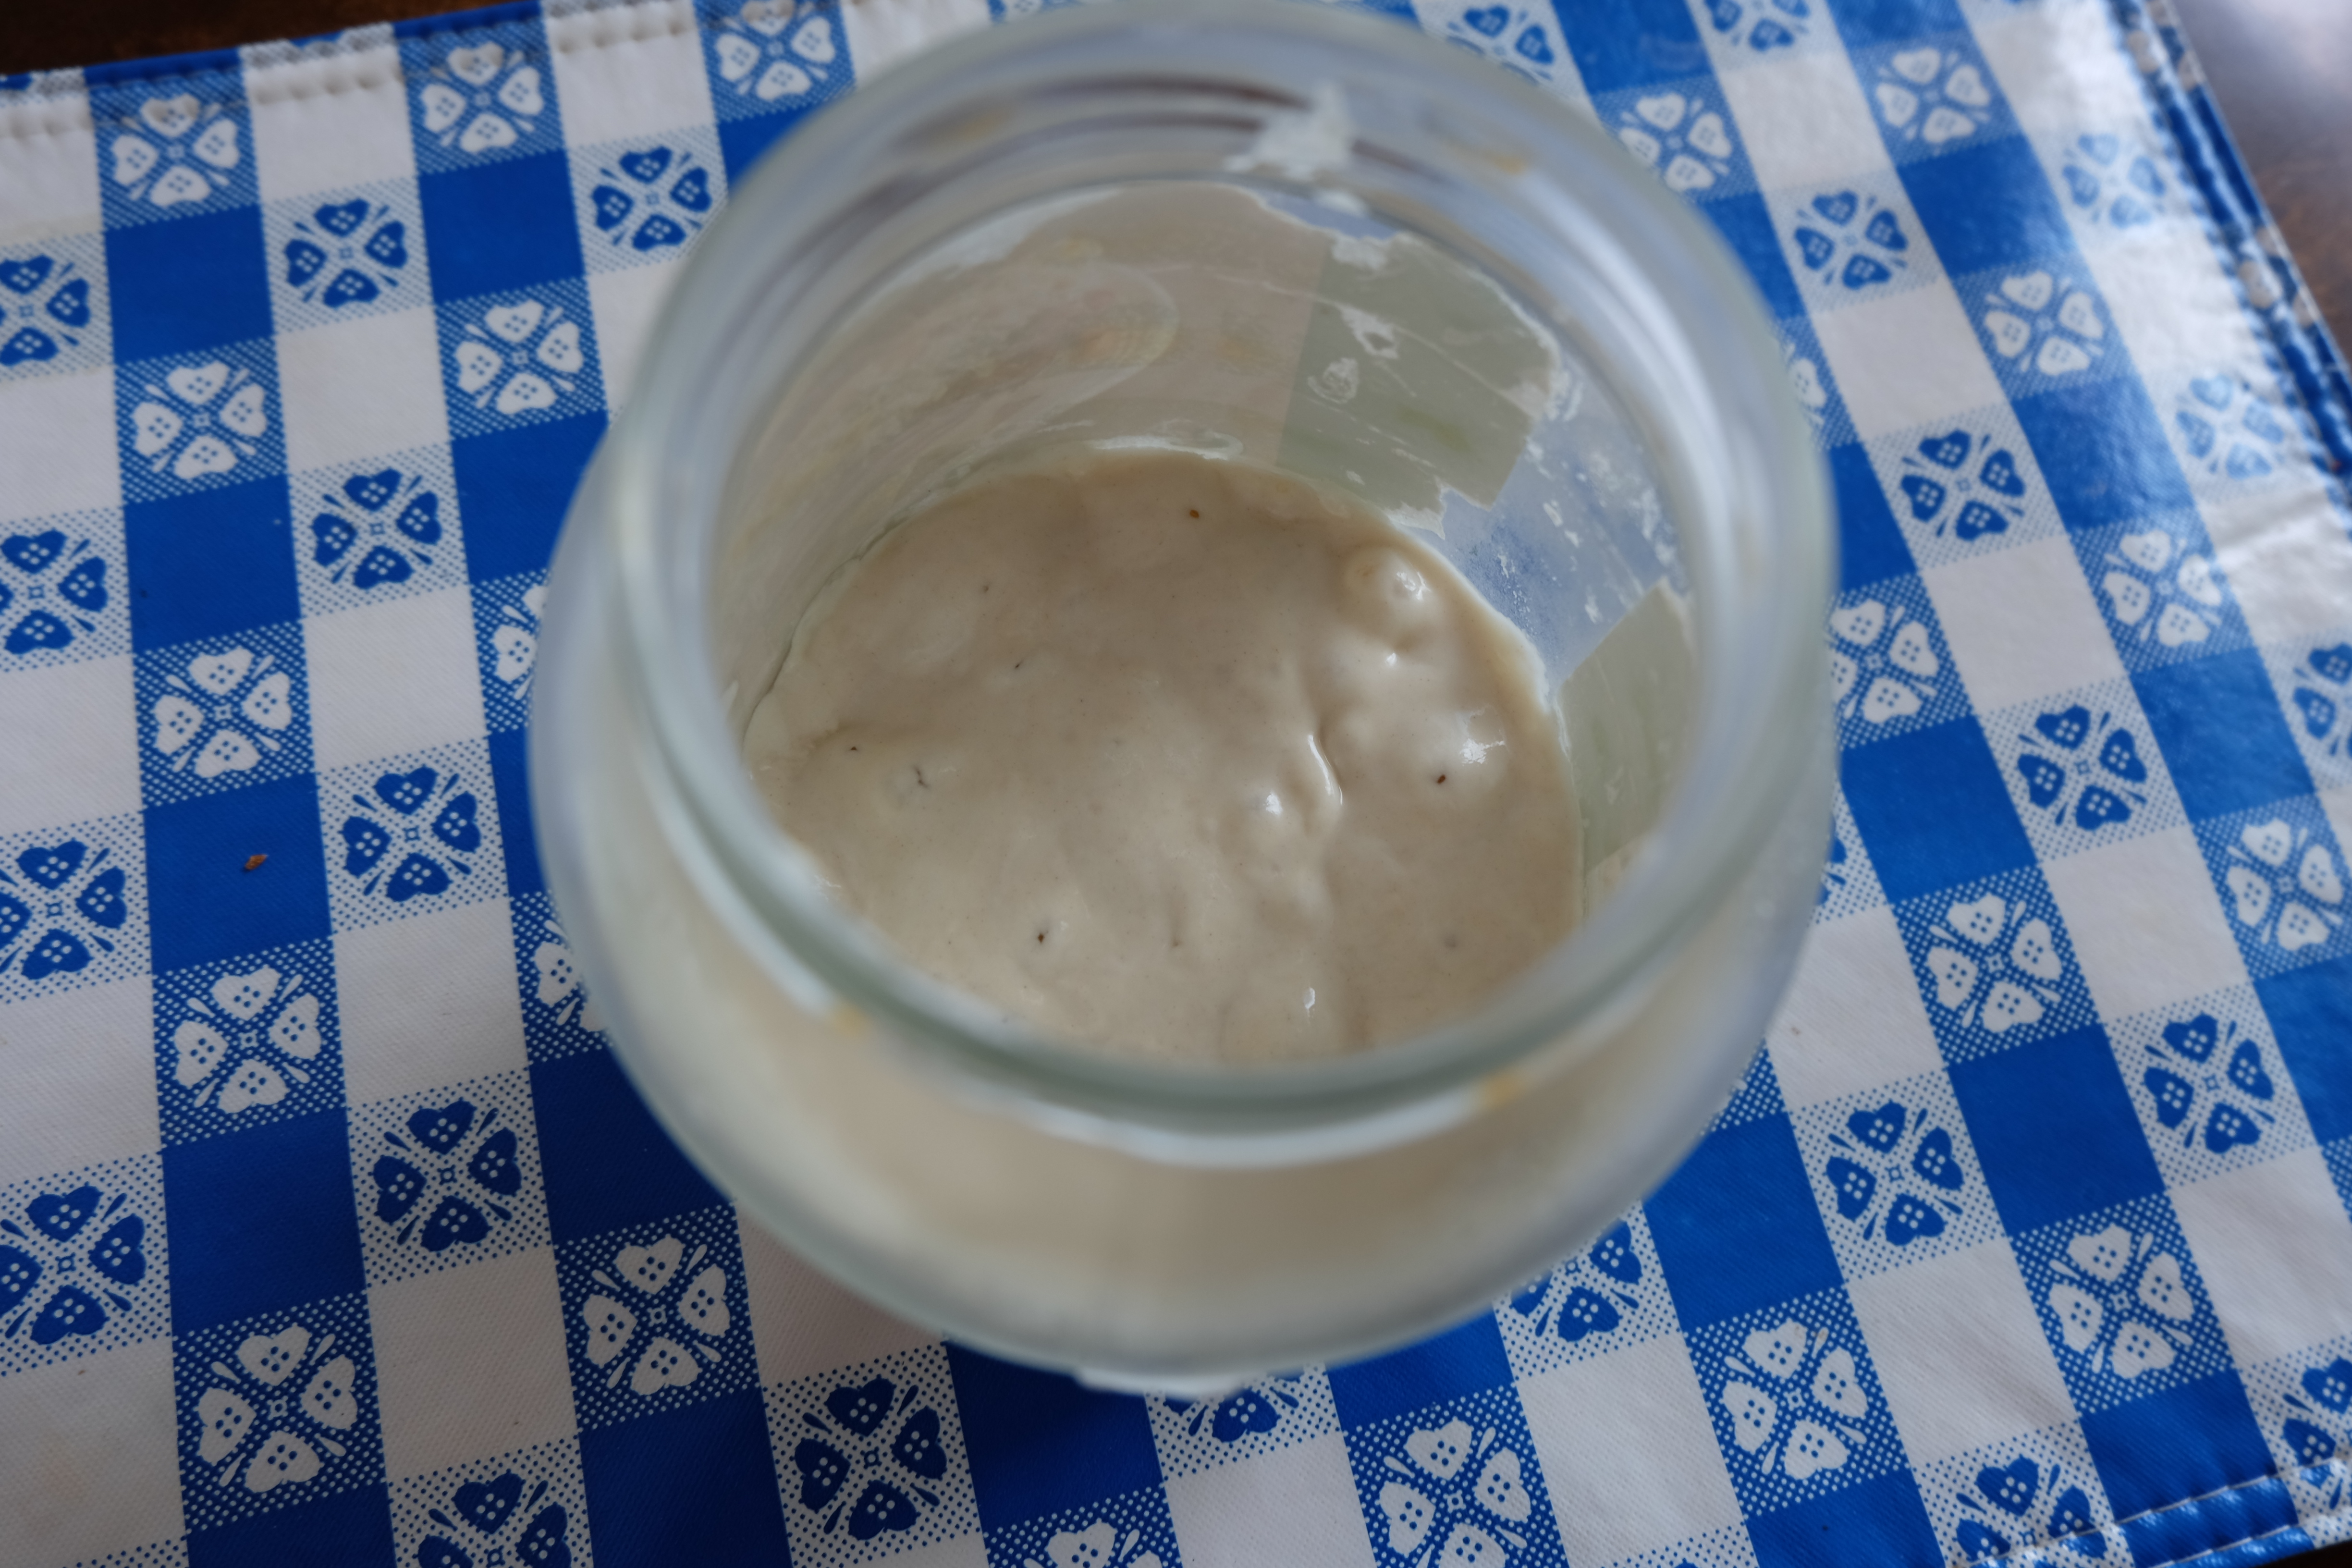
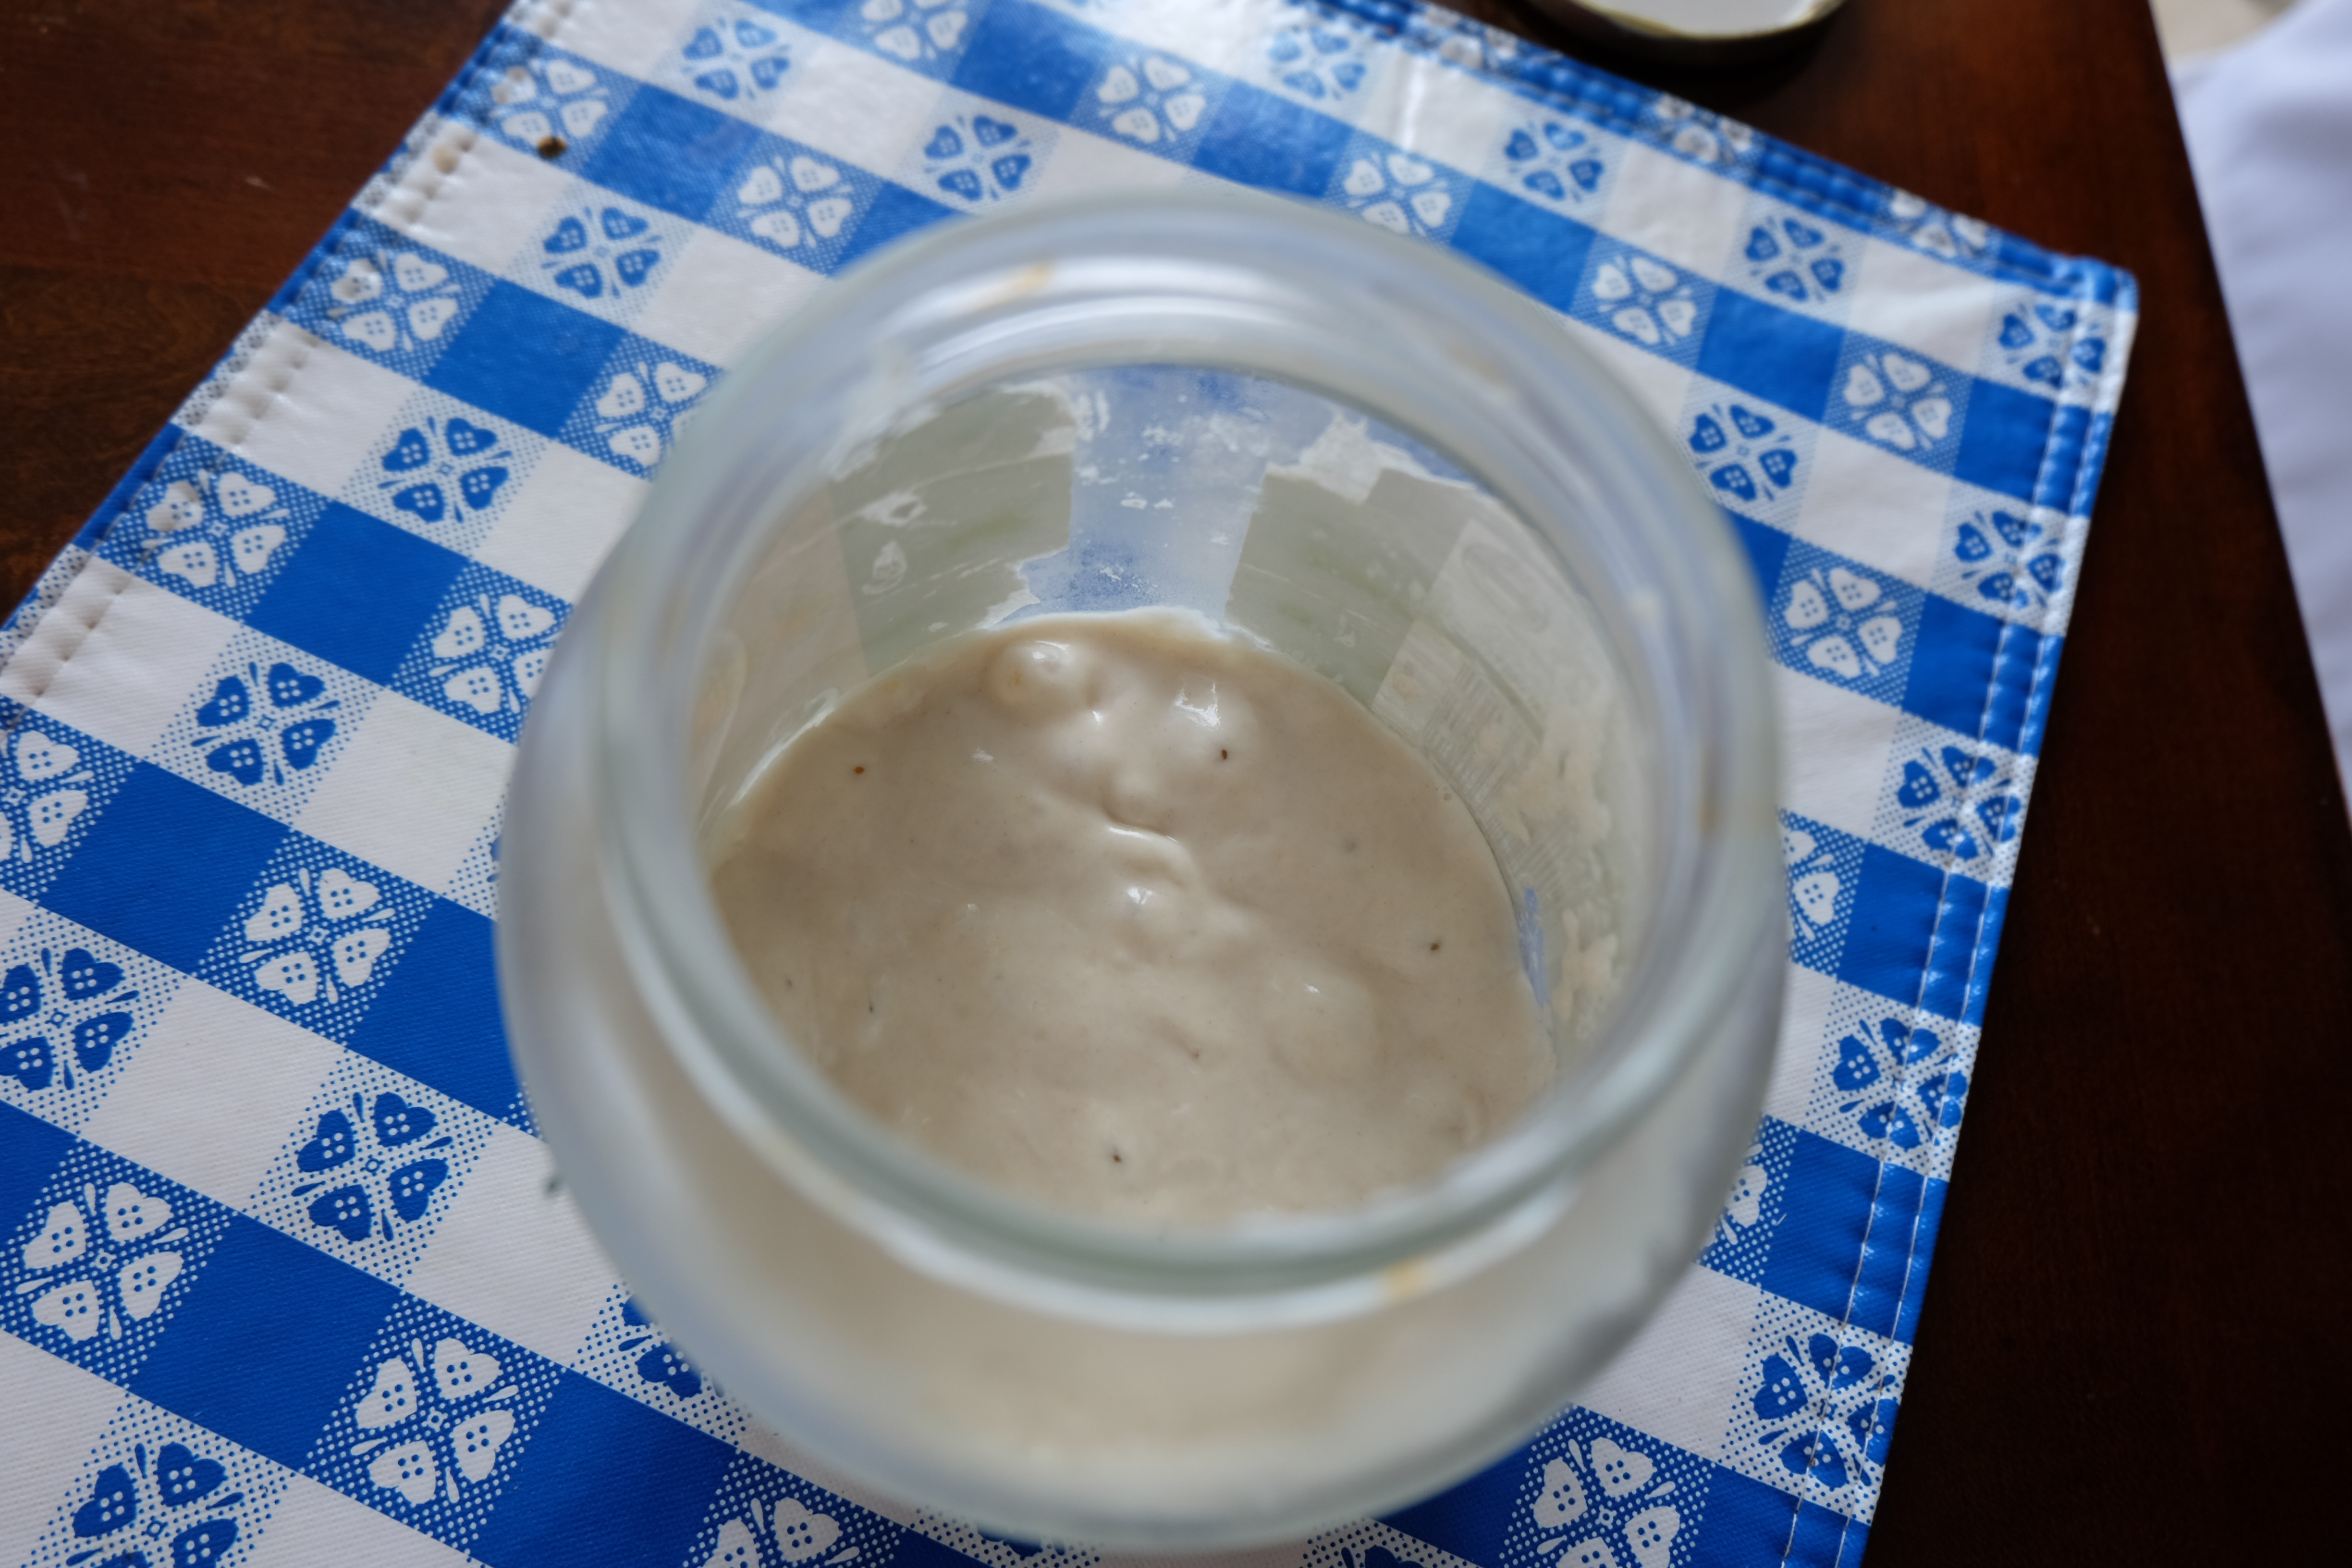
The photo above shows the desired consistency for Sourdough Starter that is ready for use in a recipe, and ready for its next “feeding”.
Resources:
http://www.culturesforhealth.com/comparison-sourdough-starters
http://www.culturesforhealth.com/how-to-make-truly-sour-sourdough-bread
http://www.thefreshloaf.com/node/233/wild-yeast-sourdough-starter
http://www.culturesforhealth.com/ten-tips-for-working-with-a-traditional-sourdough-culture
http://www.culturesforhealth.com/How-to-Feed-Sourdough-Starter