Please accept our apology for the delay in providing this bread recipe after whetting your appetites with stories of wild yeast. You might recall our prior posting regarding foraging for Sourdough yeast. Hopefully you have had success in culturing your own variety of wild yeast or have obtained a Mother starter. In any case, let’s get started with Sourdough Bread Baking 101.
Sourdough Bread
We have tried many recipes for baking Sourdough loaves of the years, but none came close to our “Ideal”: the classic Sourdough of San Francisco. Throwing caution to the wind, we went back to the Fountainhead of superb bread baking – Julia Child’s Mastering the Art of French Cooking Volume Two. I won’t recite her bread baking techniques here, but please take the time to appreciate what this remarkable woman did in discovering the hidden art of French Bakers. The most essential techniques borrowed from Julia Child are the slow fermentation, the forming of loaves, and the burst of steam in the oven. Get ready for aromatic, tangy, chewy, and crispy Sourdough Bread.
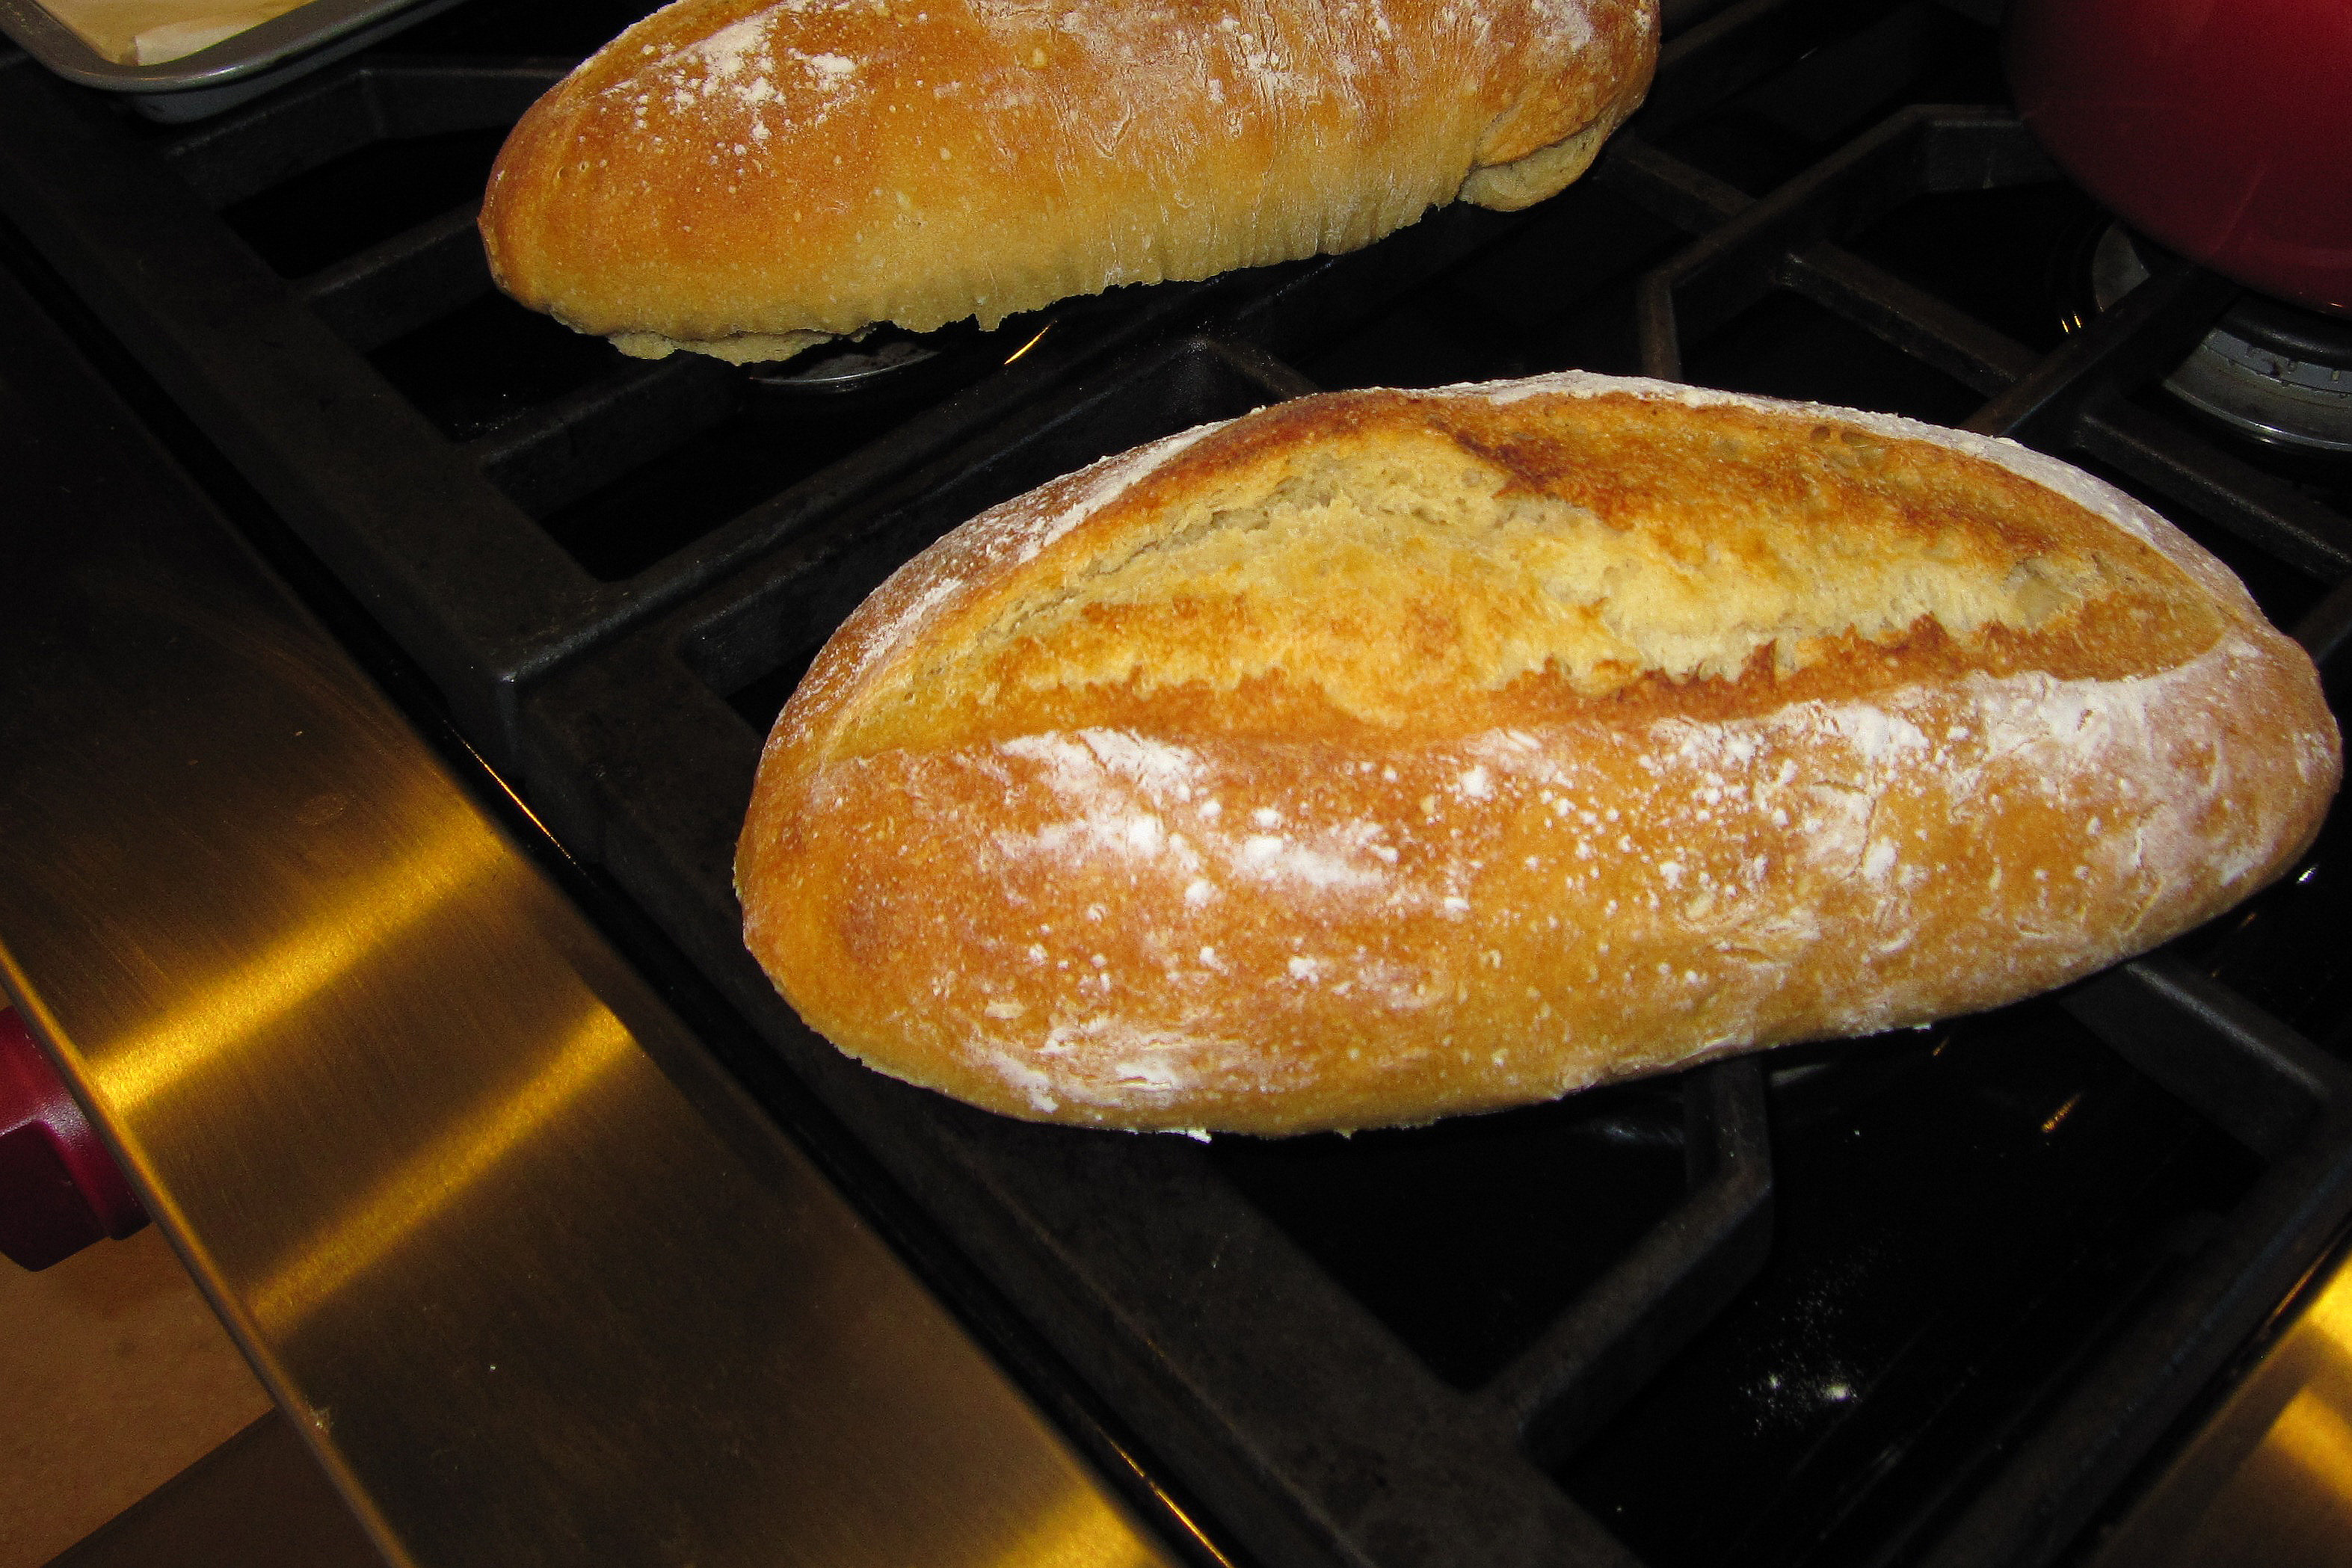
Yields two large loaves or three to four baguettes. Use curved bread forms for the best baking and loaf shape. Like this:
Start the evening before by feeding 1 cup of Sourdough Starter from your refrigerator with 1 cup of all-purpose flour plus ½ cup water. Cover this mixture with plastic wrap and place on the kitchen counter overnight (8 to 12 hours). Measure 2 cups of this bubbly starter into the bowl of your stand-mixer. Don’t forget to reserve some starter for the next baking day and then feed it to keep it going.
Add all the remaining ingredients to your mixing bowl. Using the dough hook attachment, mix on low speed for 5 minutes – adjusting the amount of water or flour. The dough should feel sticky with no visible flour. Let the dough rest in the bowl for 15 minutes to develop the strands of gluten for the kneading step. Mix again using the dough hook for 8 to 10 minutes. The dough will be in one or two balls and follow the dough hook as it rotates.
Remove the dough hook and form the dough into one large ball. Fold the edges under repeatedly so the gluten is stretched tightly and the ball will hold its shape. Repeat this for at least one minute. Place the ball with the creased side down in the bowl and cover with plastic wrap and then with a towel. Let the dough rise for approximately three hours or until doubled in sized. Alternatively, place the bowl in your refrigerator at allow it to slow-rise for 24 hours.
Once doubled in size, turn the dough out onto a lightly floured surface. Cut the dough into pieces of equal size i.e. for two or more loaves. Gently flatten each piece into a rectangle. Fold the rectangle in half lengthwise and squeeze the edges to seal. Fold it in half one more time length wise. The folds are creating an internal structure which will allow the gas from the yeast to expand uniformly while also squeezing out large bubbles. It is important that the folds stick to each other, so your dough must be damp and don’t use too much bench flour while folding. This folding works better than the more popular instructions which tend to make internal spirals in the loaves that tear apart during slicing.
This Blogger has a pretty good photo essay on the dough-folding:
Pinch the edges of the rectangle to seal all around and then gently roll the dough into a sausage-shape the length of your curved loaf pan. Repeat for the next loaf. Place the loaves in the pans, cover with plastic wrap, and then cover with a towel. Allow to rise for 1 or 2 hours in the pans until doubled in size.
Place a shallow pan half-filled with water in the upper rack of your oven. Position another rack so your bread will be baking in the center of the oven. Preheat the oven to 425 degrees. It will be quite steamy with the boiling pan of water on the upper rack.
Once pre-heated, lightly brush the top of each loaf with water then slash the dough with diagonal cuts using a razor blade or very sharp knife. If the dough clings to the blade, your tool is too dull.
Stage your loaves near the oven. Then toss three ice cubes into the bottom of the 425 degree oven, place the loaves on the middle shelf, and quickly close the oven door. Don’t be tempted to open the door as you watch the gas from your yeast expanding and twisting the loaves. At approximately 15 minutes, open the oven door and rotate the loaves from back to front. At 25 minutes, check for excessive browning and, if necessary, cover with aluminum foil to prevent burning.
Your loaves will be fully baked at 30 minutes, but double check by tapping the bread with your knuckle. It should sound hollow when tapped. Place the loaves on a cooling rack and immediately brush them lightly with water. Allow your bread to cool for at least 30 minutes before slicing. The center of the slice (the crumb) will be light but stretchy. If you pull on a slice, the cell structure of the crumb will not easily break which gives the bread its chewiness. In contrast, the crust will be crunchy and pieces of crispiness will flake away as you slice the loaf. The aroma will be yeasty and slightly sour. This bread is the perfect accompaniment to stews, braises, tomato sauces, and salads. Leftover, it makes the best French Toast you have ever tasted.
If you like the idea of having some extra bread in your freezer for quicker availability, remove a loaf early after 25 minutes of cooking then let it cool for 1 hour, Wrap the loaf in aluminum foil and then again in plastic wrap. To re-bake with no defrosting, remove the plastic wrap then place the foil-wrapped frozen loaf in a 400 degree oven for 25 minutes. Remove, unwrap, and let it cool for another 30 minutes. It’s almost as fresh, crunchy, and chewy as the real deal.
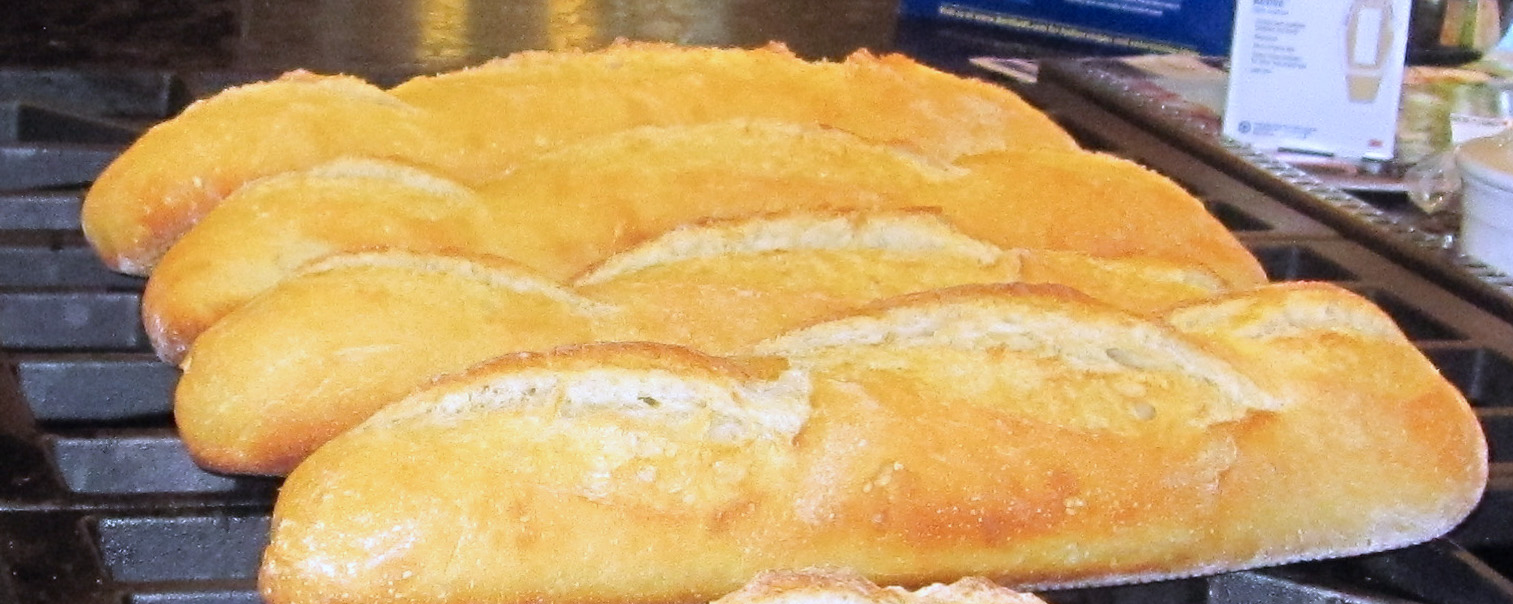
Batards of Sourdough